 |
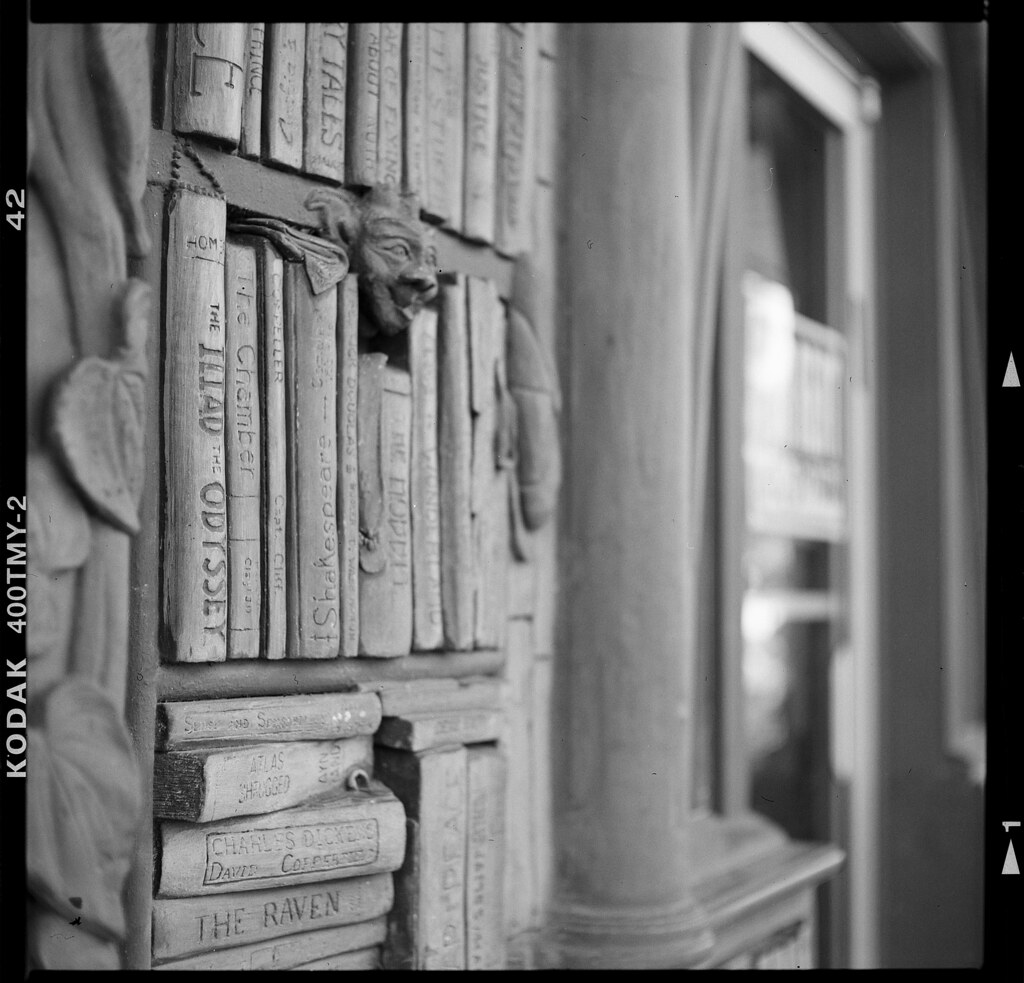
| The test image, a number of books carved into a storefront in Mt. Dora, FL. |
I don't have an Epson V700, but I do have a Canon Canoscan 9000F Mark II to use as a comparison. It doesn't support any transparency larger than 120 film, but at around $150, it's a fraction of the cost. I scanned the frame at a (pretty ridiculous) 4800 dpi, which resulted in an image that was around 11600x11500, or about 127 megapixels. Of course, this is well beyond the limitations of the scanner's optics, but I will scale it down shortly for comparison purposes.
I also didn't have a dedicated macro lens, so I used my Sigma 50mm f/1.4 and a 36mm Kenko extension tube on my Canon EOS 5D Mark III. Rather than take several shots and merge them, I decided to just take one shot at the sharpest part of the image so that I can compare the results with the scanner. I set the negative on the slide viewer, and after some difficulty I was a able to get a good shot.
I took a very small section of the resulting file (right around the OD in "ODYSSEY") for comparison. After making a separate file out of that, I scaled down the scanned file until the "OD" was approximately the same size, and cut that section out as well, making another new file. Then I made two additional files with some sharpening done to try to enhance the details. The results are below.
 |
| From the scanner, no sharpening. |
 |
| From the DSLR, no sharpening |
 |
| From the scanner, sharpening added in Photoshop |
 |
| From the DSLR, sharpening added in Photoshop |
It's pretty clear to me that the DSLR method is superior to the scan. I'm just not sure if it's worth the added effort. Sure, even after sharpening the scanner example, you can see more detail in the unsharpened DSLR photo. But is the difference worth spending so much time on setting up the rig, taking the array of photos, merging them all together, etc? Look again at the original image at the top of this post, and look at what a small section we're looking at here -- these 100% crops are off of basically 55-megapixel images. Unless I'm printing a mural for a bedroom wall, what are the odds that I'll need that kind of detail? Here's a bigger version of the photo (though still scaled down significantly), from the scanner. At that size, it still looks razor sharp.
Of course, I'm still struggling with the idea because wringing every last drop of detail out of my negatives is definitely something that pokes at my perfectionist side.
No comments:
Post a Comment