The Basics
The QL17 is a compact, fixed lens rangefinder camera. This particular model was manufactured in 1972 and was the last Canonet produced. It has a solid weight to it and feels really well built, although it's smaller and lighter than the Yashica 35. The rangefinder mechanism is tied to the lens focus lever and the frame guides have parallax compensation.
Metering and Auto Mode
Unfortunately, this camera uses the dreaded PX625 mercury battery that is no longer available. Luckily, there are alternatives available, so you shouldn't let this affect your decision if you're considering buying this camera.
One benefit of the QL17 is a battery check light that can verify that the battery is at the correct voltage. Once that light stops working, the battery (particularly zinc air batteries) can still be used for a while longer but you'll want to compare readings with a known accurate meter once a day or so, and make the adjustment in your head (i.e., if the known accurate meter registers 1 stop slower than the QL17 meter with partially drained battery, then add a stop before taking the picture when metering with the in-camera meter).
With a good battery installed, you can turn the aperture ring to the A for shutter priority shooting. Select the desired shutter speed on the black outer lens ring, and the needle in the viewfinder will point to the metered aperture. Pressing the shutter release will stop the lens down to that aperture.
One other feature (clearly intended for beginners) is a very basic guide for shooting in auto mode if you have no idea what shutter speed you want. Located on the shutter speed ring near the lever that selects the ISO are three icons: Sun, Cloud, and... Window? I think? Anyway, the idea is that you set the ISO to that of your film, and then turn the shutter speed ring until the icon representing the type of lighting environment you're in matches up to the ISO lever. So the user can just set it to "Sun" when they're outside in bright light, and the auto mode will handle any slight lighting variations by adjusting the aperture. It's pretty worthless to anyone with a solid understanding of appropriate shutter speeds, but worth mentioning anyway.
 As an added bonus, the light sensor is actually located on the front of the lens, meaning if you decide to use a filter on it, no manual compensation is required. It also ensures you won't accidentally cover it with your finger while shooting, which is a common issue for me with the Rollei 35.
Manual Shooting
For reasons that I may never understand, the light meter is not available in manual mode. As soon as you select an aperture on the ring (taking it out of auto mode), the meter stops operating. So for metered manual shooting, you need to put the camera in A mode, take the reading with the desired shutter speed, and then manually dial in the aperture that the viewfinder needle was pointing to. It's an extra step that I wish I didn't need to take, but what are you going to do.
Film Loading
 |
| Film Advance Window |
In Use
I love this camera for its weight and portability. The whole camera is really well built. I don't mind throwing it in a bag with other stuff, because I know it can handle banging around a little. It's small enough that it doesn't put people on edge, and the shutter is very quiet. This makes it a great street camera. Out in daylight and indoors with a reasonably contrasty subject, the rangefinder is bright enough to get good focus with. Indoors in low light can take a little longer because you'll want to swing the focus lever back and forth a bit to really hone in on the perfect spot.
Parallax correction in the viewfinder works well, although since the frame guides only exist for top, bottom, and left, sometimes I wonder how accurate my imagined right guide is (and sometimes I do get more in the frame than I had expected). Film advance has a nice, positive feel to it. Like most manual advance cameras, the advance lever is perfectly positioned so that if you are left eye dominant like I am, you need to remember to move the camera away from your face before advancing or you'll poke yourself in the right eye with the lever.
The shutter release button requires some pretty solid pressure to trigger the shutter, and there's quite a bit of travel before you get to the point where it actually trips. It feels a little weird at first, and you have to get used to applying slow, even pressure to it in order to keep yourself from shaking the camera as you press the button. The good news is that you'll never accidentally take a picture by just grazing the button.
The shutter release button requires some pretty solid pressure to trigger the shutter, and there's quite a bit of travel before you get to the point where it actually trips. It feels a little weird at first, and you have to get used to applying slow, even pressure to it in order to keep yourself from shaking the camera as you press the button. The good news is that you'll never accidentally take a picture by just grazing the button.
I've gotten good, sharp results across the aperture range (well, as sharp as can be expected with my flatbed scanner that doesn't really do 35mm very well to begin with). I have often wished that the focal length was a little shorter, but this is just a personal preference.
One thing that's worth mentioning, regarding the light sensor on the front of the lens -- this does make metering with a color filter, polarizer, etc much easier, but it can also be a problem. It's a 48mm thread diameter, which is pretty uncommon. This means that perfectly fitted filters are harder to come by and they're more expensive than the much more common 49mm filters.
I bought a step-up ring to allow 49mm filters to fit, and that works great. The problem is the added thickness blocks some of the ambient light from entering the light sensor (which is really close to the threads) and it causes the camera to overexpose. So if you're using a filter (or especially more than one stacked) this is something to keep in mind.
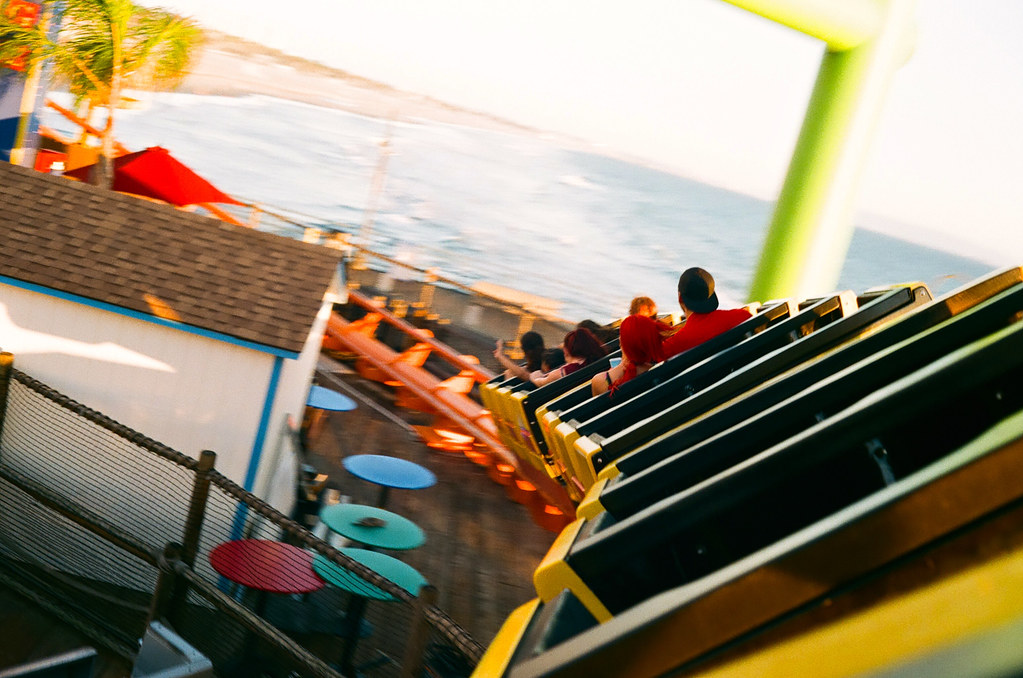
I have a Flickr set of photos taken with the Canonet QL17 GIII, if you'd like to see more examples from this camera. I'm slowly adding more as I'm getting them scanned in.
Any questions or comments about the camera? Did I miss something? Feel free to leave a comment below!
No comments:
Post a Comment