Showing posts with label examples. Show all posts
Showing posts with label examples. Show all posts
Monday, February 8, 2016
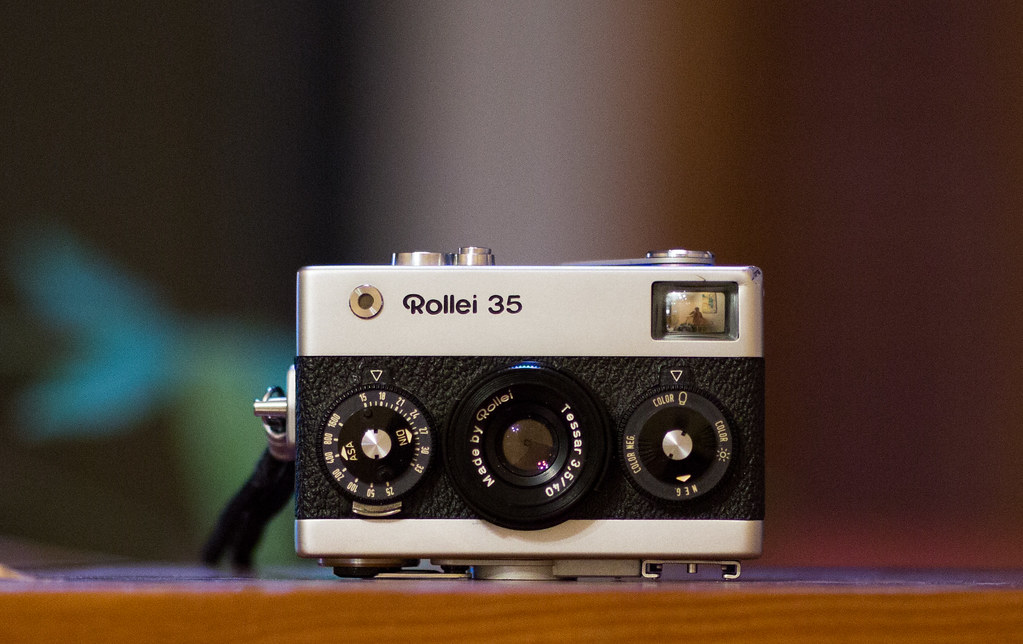
Camera Review: Rollei 35

Wednesday, January 27, 2016
Camera Review: Pentax K1000 (and Asahi SMC Pentax-M 50mm f/2)
 The Pentax K1000 has a reputation for being a solid, no-frills SLR that will probably outlast your children. It's a pretty accurate reputation. I bought mine off of an ex-student that had taken a college photography class and (of course) moved right on to a digital camera. I paid $25 dollars for it and an Asahi SMC 50mm f/2.0 lens. I'm going to include the lens in this review because otherwise it would be quite short. Of course, if you're not interested in that lens you can ignore the appropriate parts.
Monday, January 25, 2016
Camera Review: Nikkormat FT2
 |
| Nikon FT2 with Nikkor 35mm f/2.0 |
Thursday, October 1, 2015
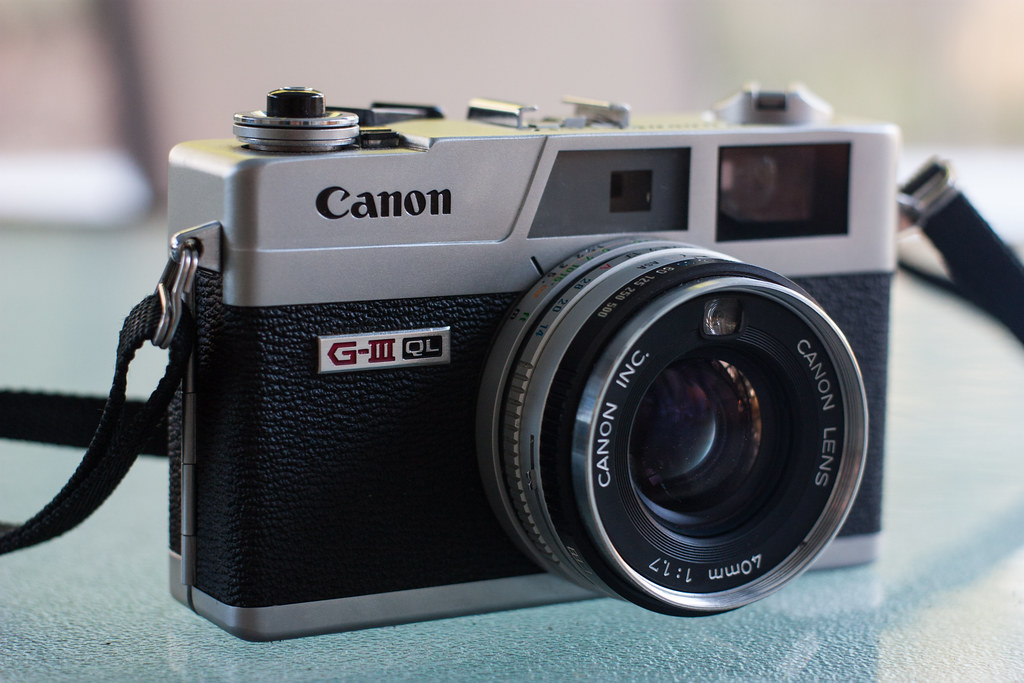
Camera Review: Canonet QL17 GIII 35mm Rangefinder
Tuesday, June 23, 2015
How Extension Tubes Work
There seems to be a lot of misconceptions out there regarding extension tubes and how they work, and if you're just getting started with them, it can be a little frustrating when you're not getting them to behave how you might expect. I've talked a few people through it to clear up questions they had, so hopefully by writing up a post about it, it will help someone else one day.
Some years back, I ran across several product reviews for a set of extension tubes that were unnecessarily negative. The main reason was because the users expected to be able to "zoom in" farther with these tubes to allow the subject to better fill the frame. What they were probably thinking of was a teleconverter, which introduces additional lens elements to effectively increase the focal length of the lens it's attached to. Extension tubes are different. They have no optical elements at all; their only purpose is to add additional distance between the lens and the film plane. If you really wanted to, you could actually make your own extension tube with a cardboard toilet paper tube! That's how simple they are.
Extension Tubes Are Just Spacers
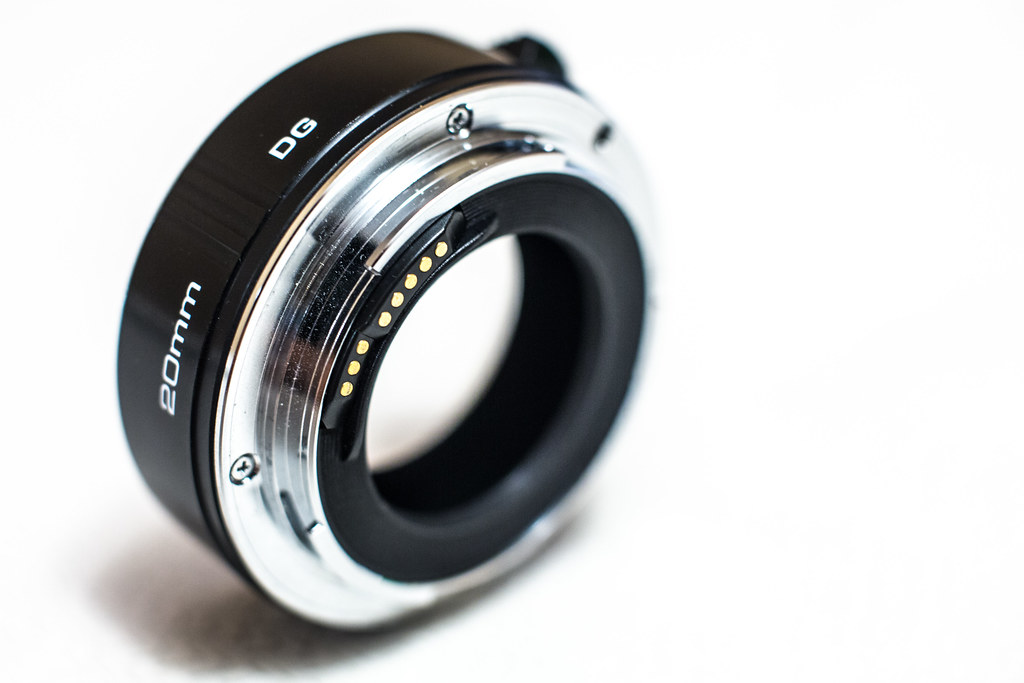 |
| An extension tube |
Thursday, March 7, 2013
Recesky TLR DIY Kit
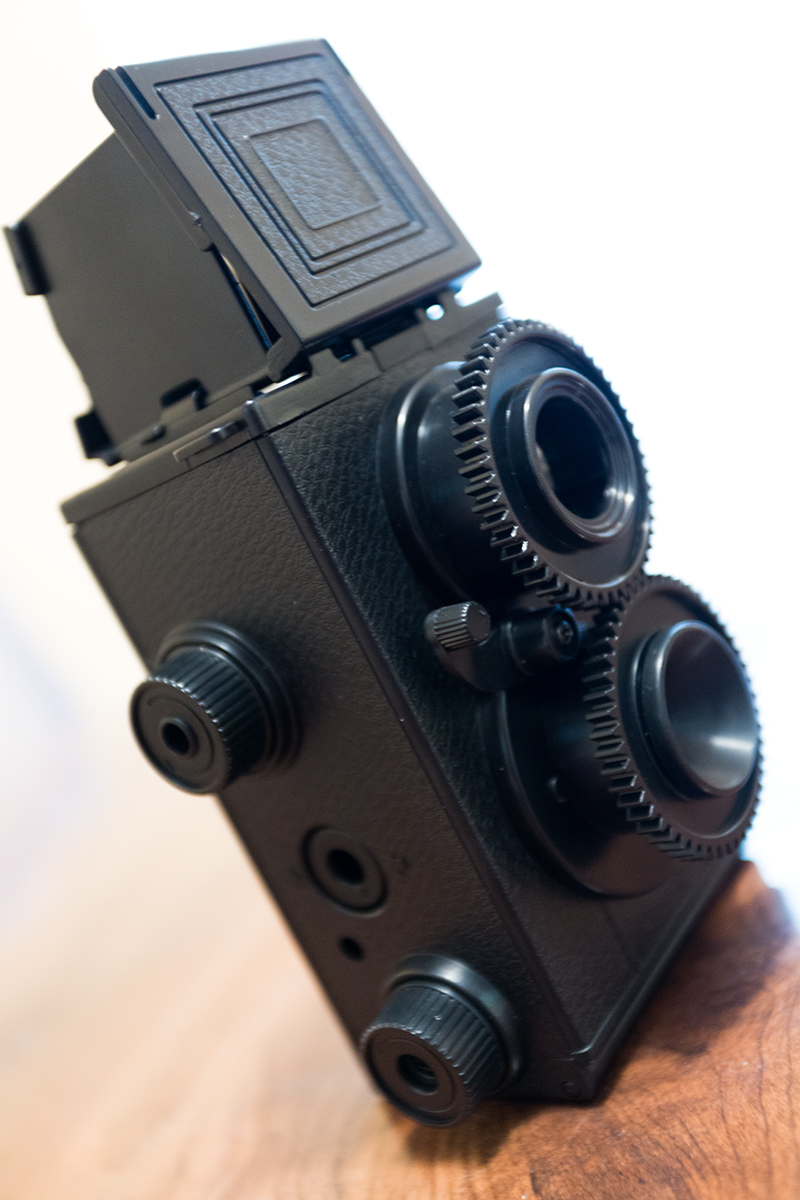 |
| Recesky DIY TLR, assembled. |
Everything is reduced to its component parts, so I found it pretty interesting, especially building out the shutter mechanism. Of course it's tragically basic, but it was still cool to put it all together and see it work.
Once fully assembled, you have a basic, no frills TLR; it has a flip-up hood that you can open to expose the matte waist-level finder, which like any TLR is reflecting an image back from the viewing lens (in reverse). The two lenses are linked by gear teeth so that when the viewing lens is being focused, the taking lens is focused by the same amount.
The shutter trips at what I can only imagine is a somewhat approximate 1/125 second, it's basically a spring-loaded piece of plastic that swings out and springs back when you press down on the shutter release lever, located at the front of the camera. The aperture is fixed at f/11, so really the only actual exposure control you have is changing up the film speed when you switch rolls.
Subscribe to:
Posts (Atom)