 |
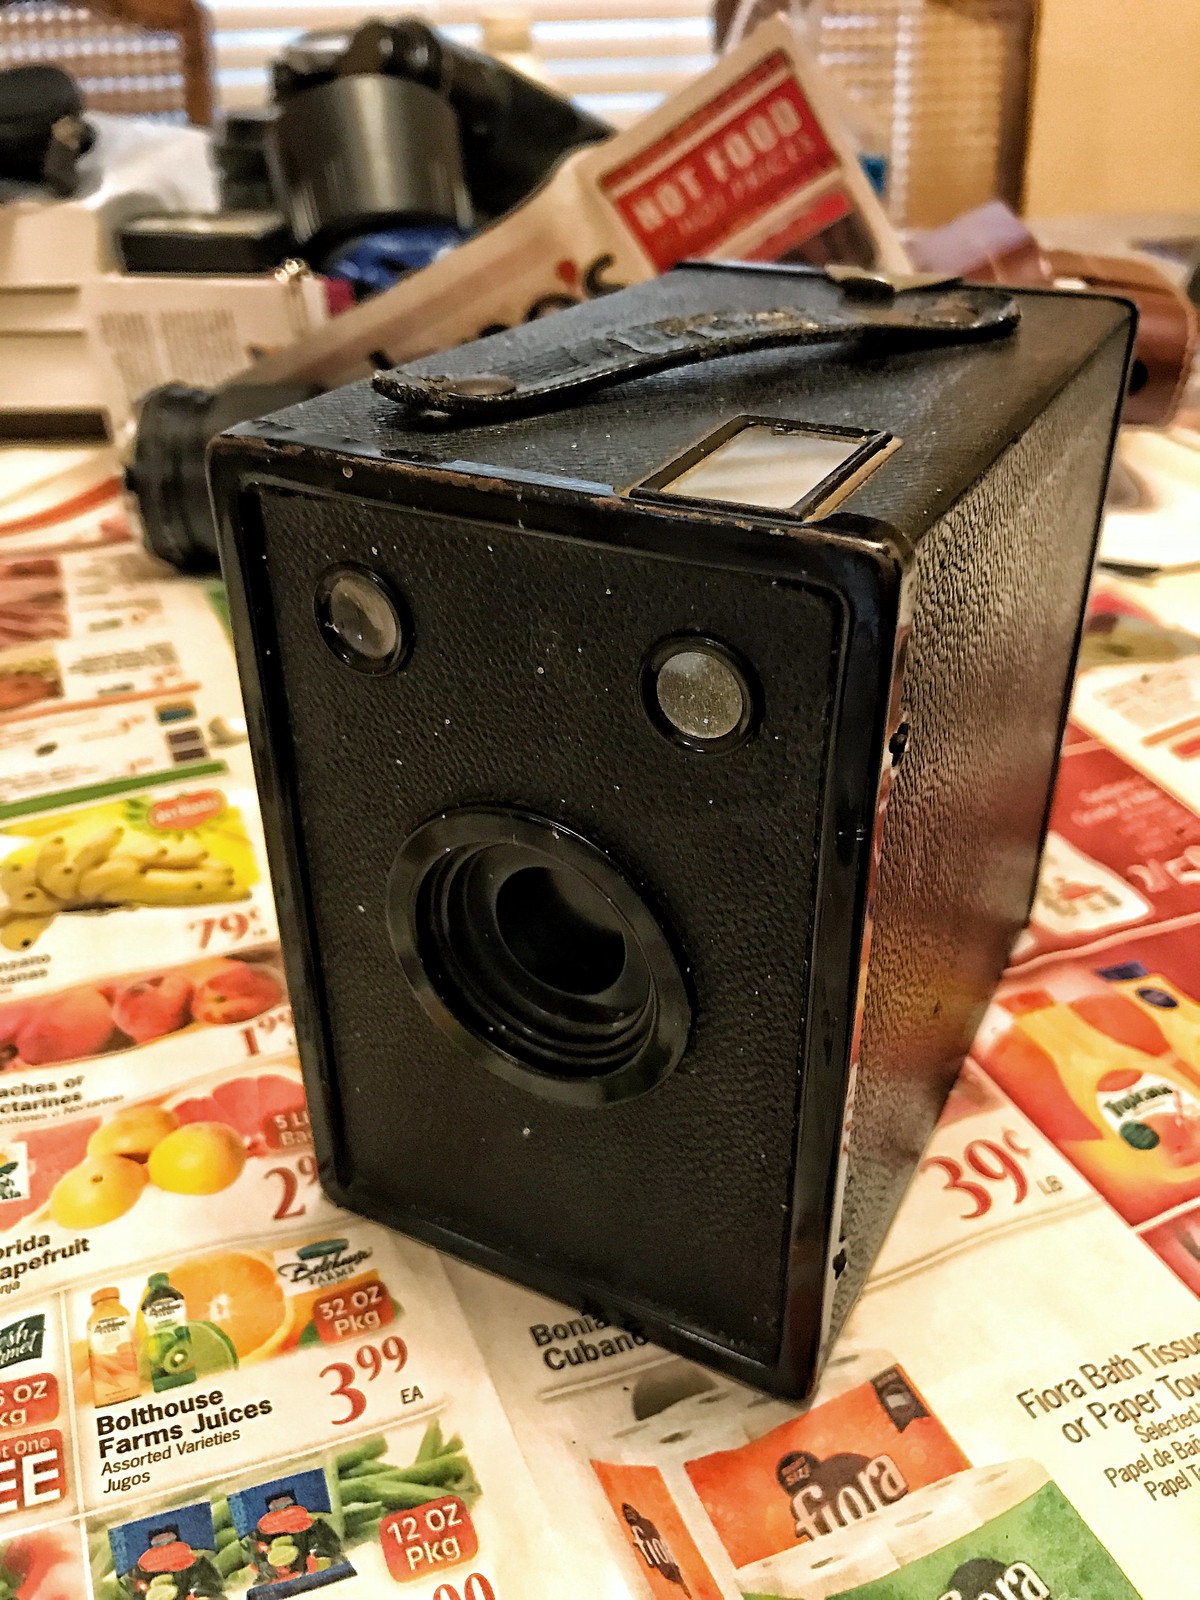
| Agfa Ansco D-6 Cadet |
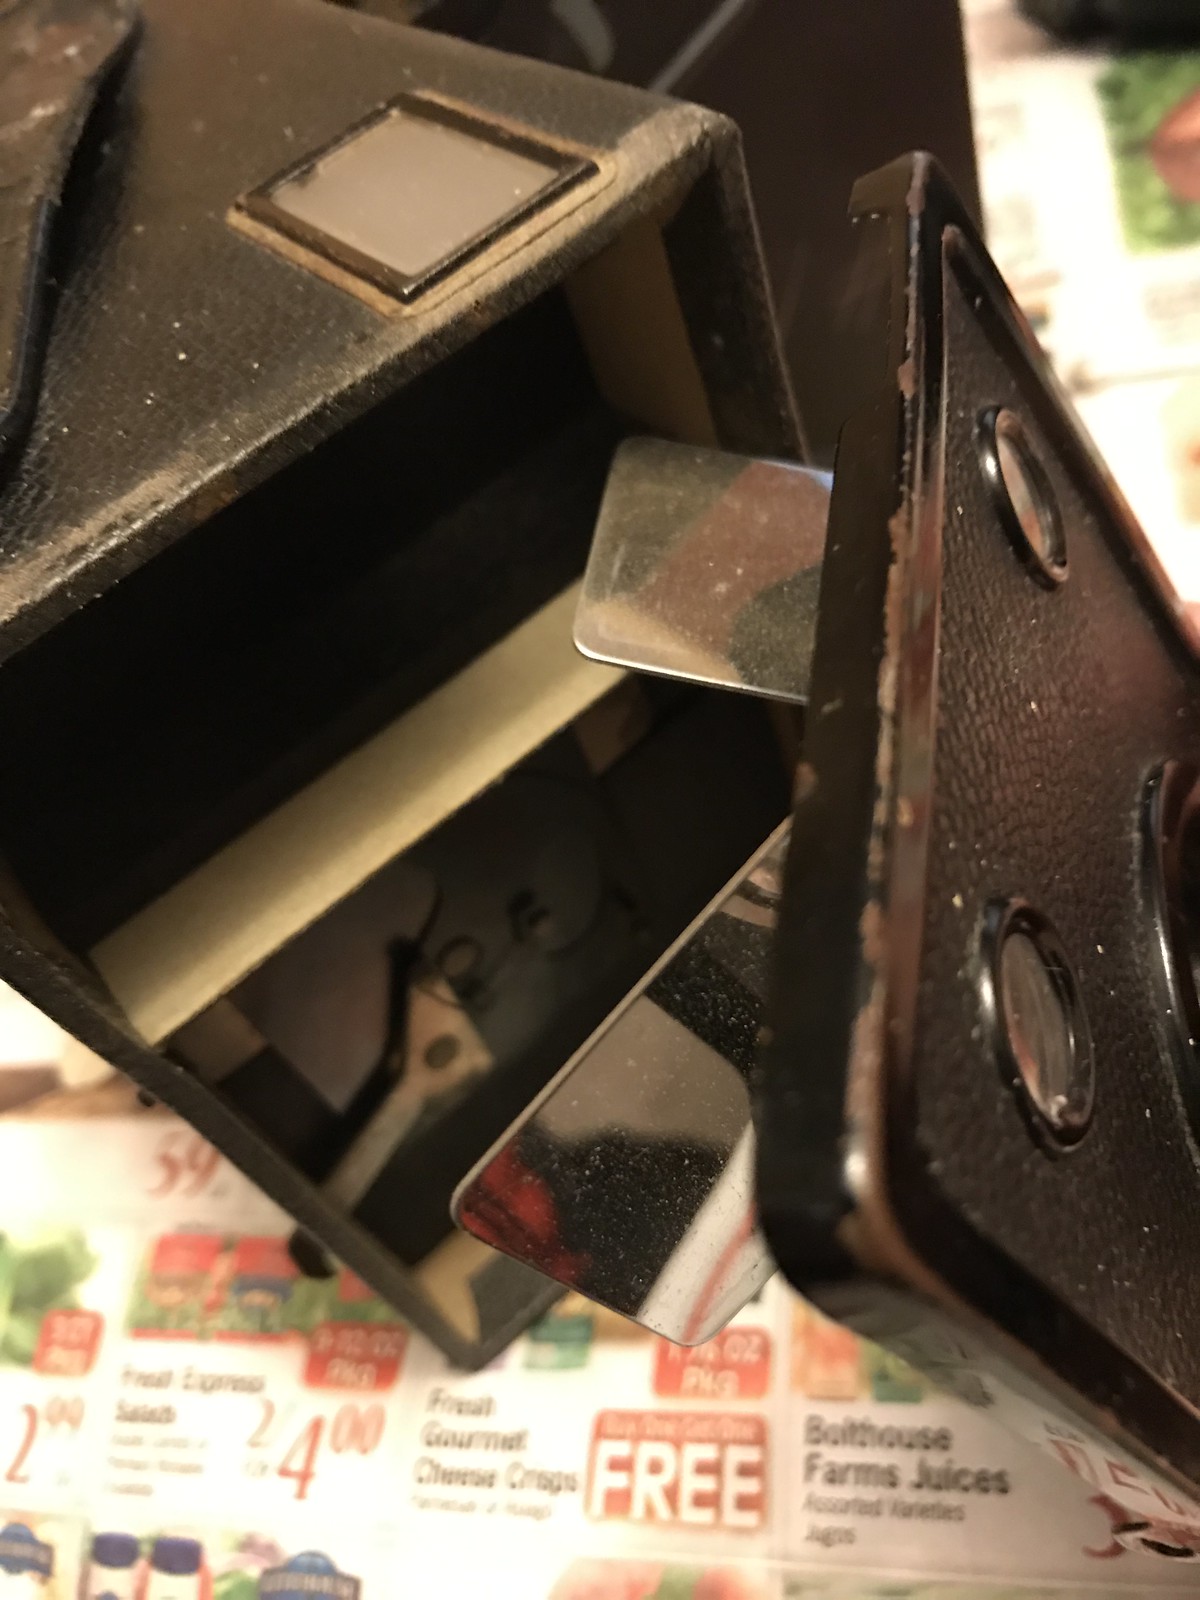
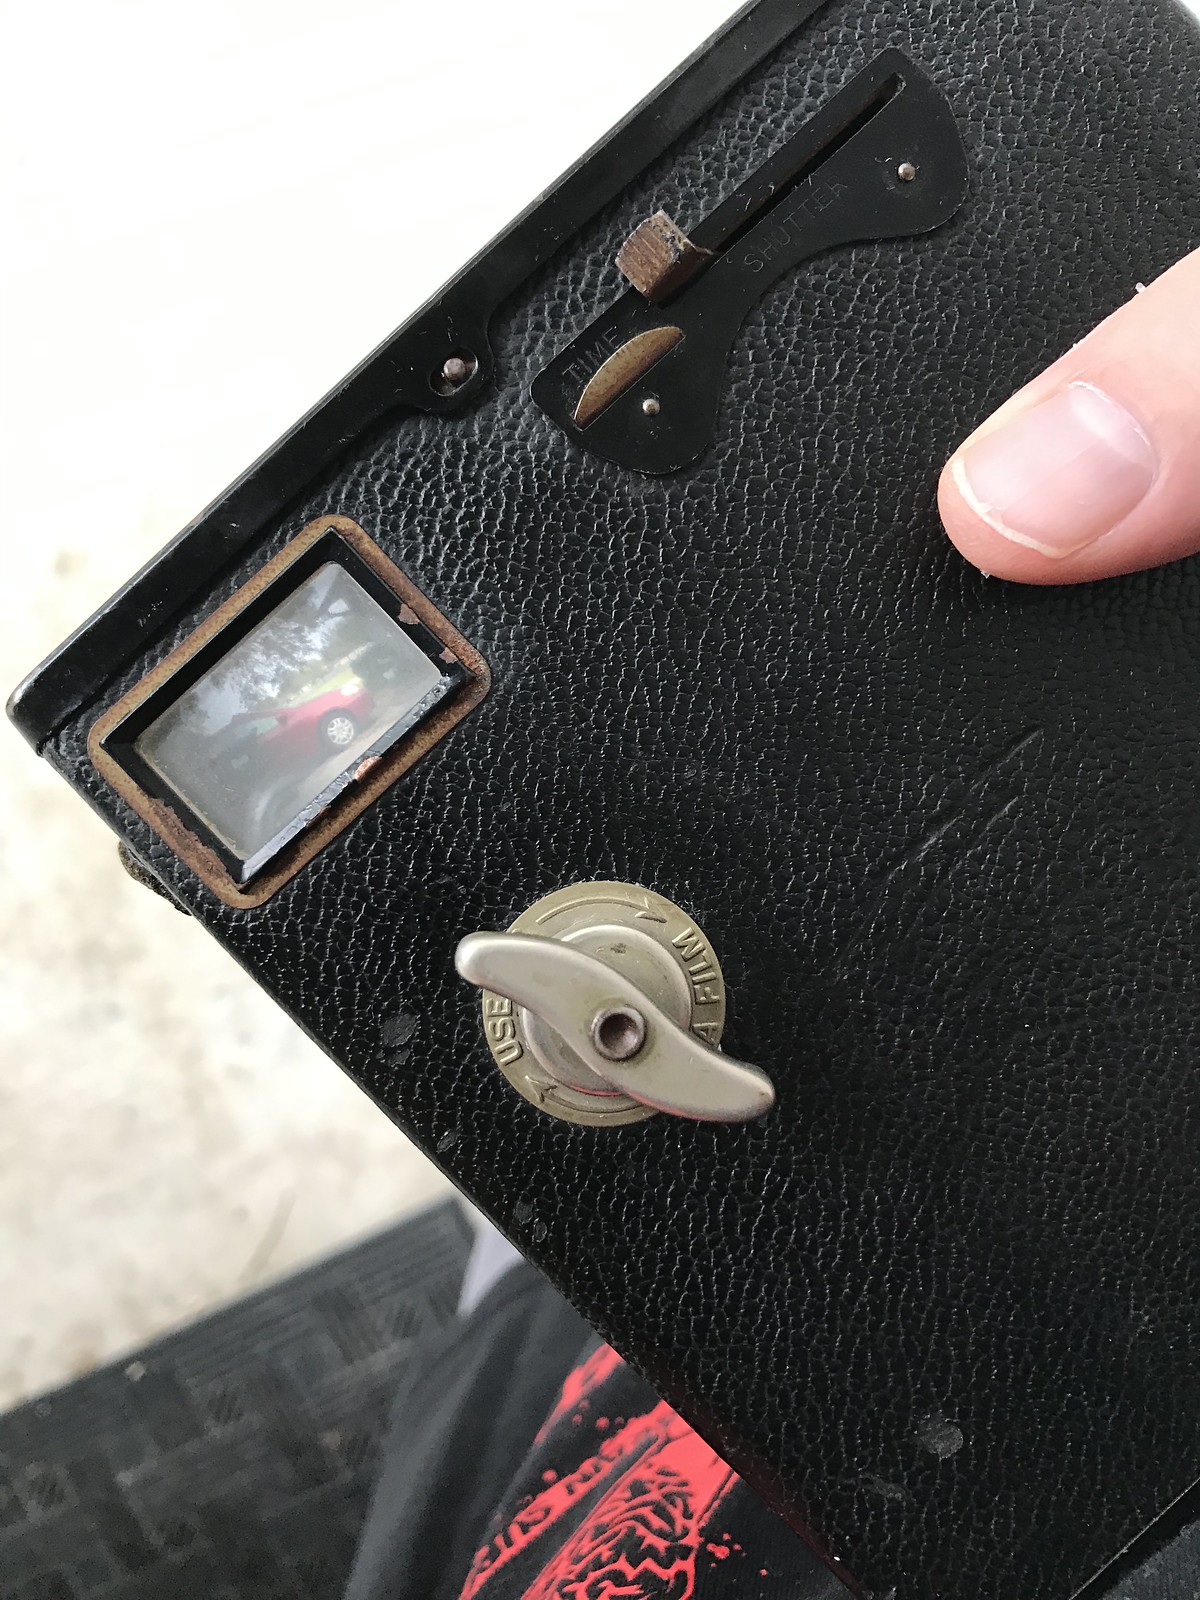
The outside was a breeze, I wasn't out to make it look new, I just wanted it clean. All it took was a soft cloth and some Pledge, and that part was done. I then removed the front panel and cleaned off the reflective surfaces that project an image onto the viewfinders And that was about it -- the rest of the camera was in good shape.
|
|
Riddled with features, this camera is not. It has one shutter speed (apparently about 1/60s although I have no way to test it), a bulb mode, and a fixed aperture of... I don't know. Maybe about f/11. The minimum subject distance is about 8 feet for the fixed-focus lens.
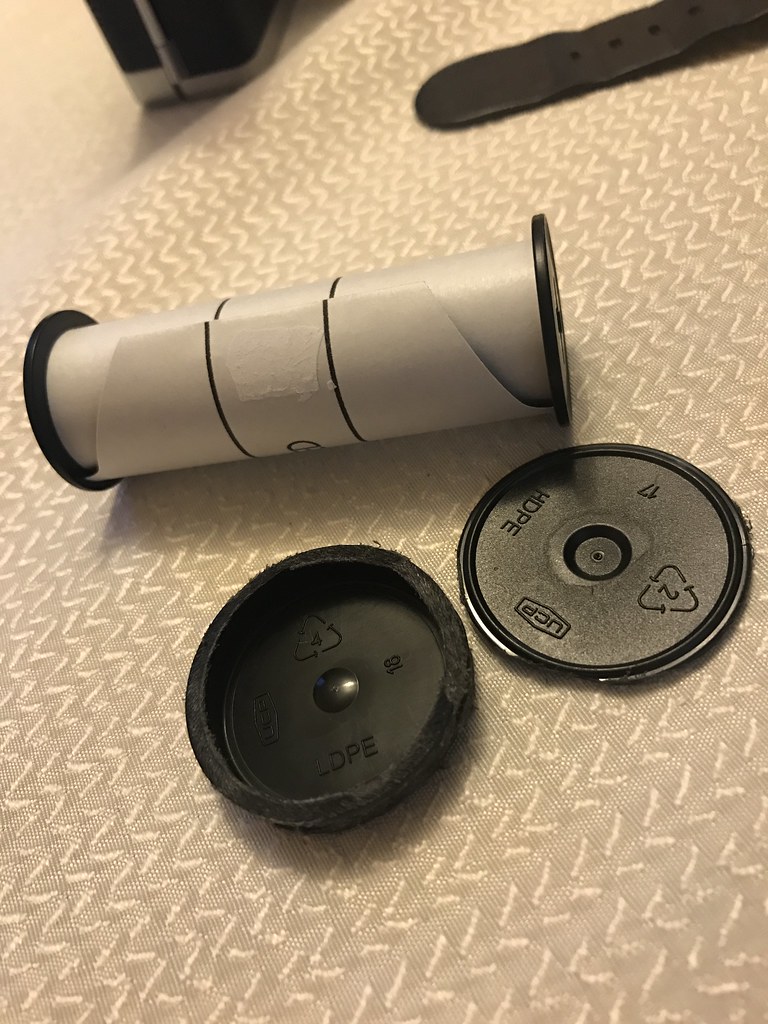 Now, the camera requires 116 film, which is slightly larger than the closest available currently produced 120 film. This means that I needed to adapt it for the 120 spool. I noticed that a standard 35mm film canister lid was about the right thickness to act as a shim, but a little too big in diameter, so I filed it down a little bit with a dremel. I also cut the end off of the canister itself (which was already the correct size) in case I needed just a little extra thickness, but it turns out I didn't need it.
I was then able to use a 120 spool in the camera, using the 116 spool as the takeup spool. I would later buy a set of 3D-printed 120 to 116 adapters, thinking that I could then just use standard 120 takeup spools and not worry about unloading the film. This worked okay, but the adapters didn't work particularly well with the winding mechanism, so it took some effort to get through a roll and kind of chewed up one of the adapters a little. I'll need to figure out something better.
At any rate, the next thing to consider is the frame spacing. Luckily, the frame numbers on a 120 roll for 6x4.5 format show up in the Cadet's red window. However, the frame width is actually closer to 105mm rather than 45mm, so the numbers can only be used as a general guide. What I ended up with was the following: Start at frame 2, then skip 15 bits.
That sounds weird, so I'll explain with it written out on the backing paper:
That sounds weird, so I'll explain with it written out on the backing paper:
What I call a "bit" is just one of the icons, numbers, or spaces that are printed in the 6x4.5 numbering on the roll. Each number is followed by a space, and then 4 circles of increasing size. So you want to shoot your first frame with "2" showing in the red window. Then advance 15 "bits" (don't forget to include the space after each number as a bit) and take your next shot there. This allows you to get the entire frame in, along with a small amount of frame spacing in between. You should be able to get 7 frames per roll in this way.
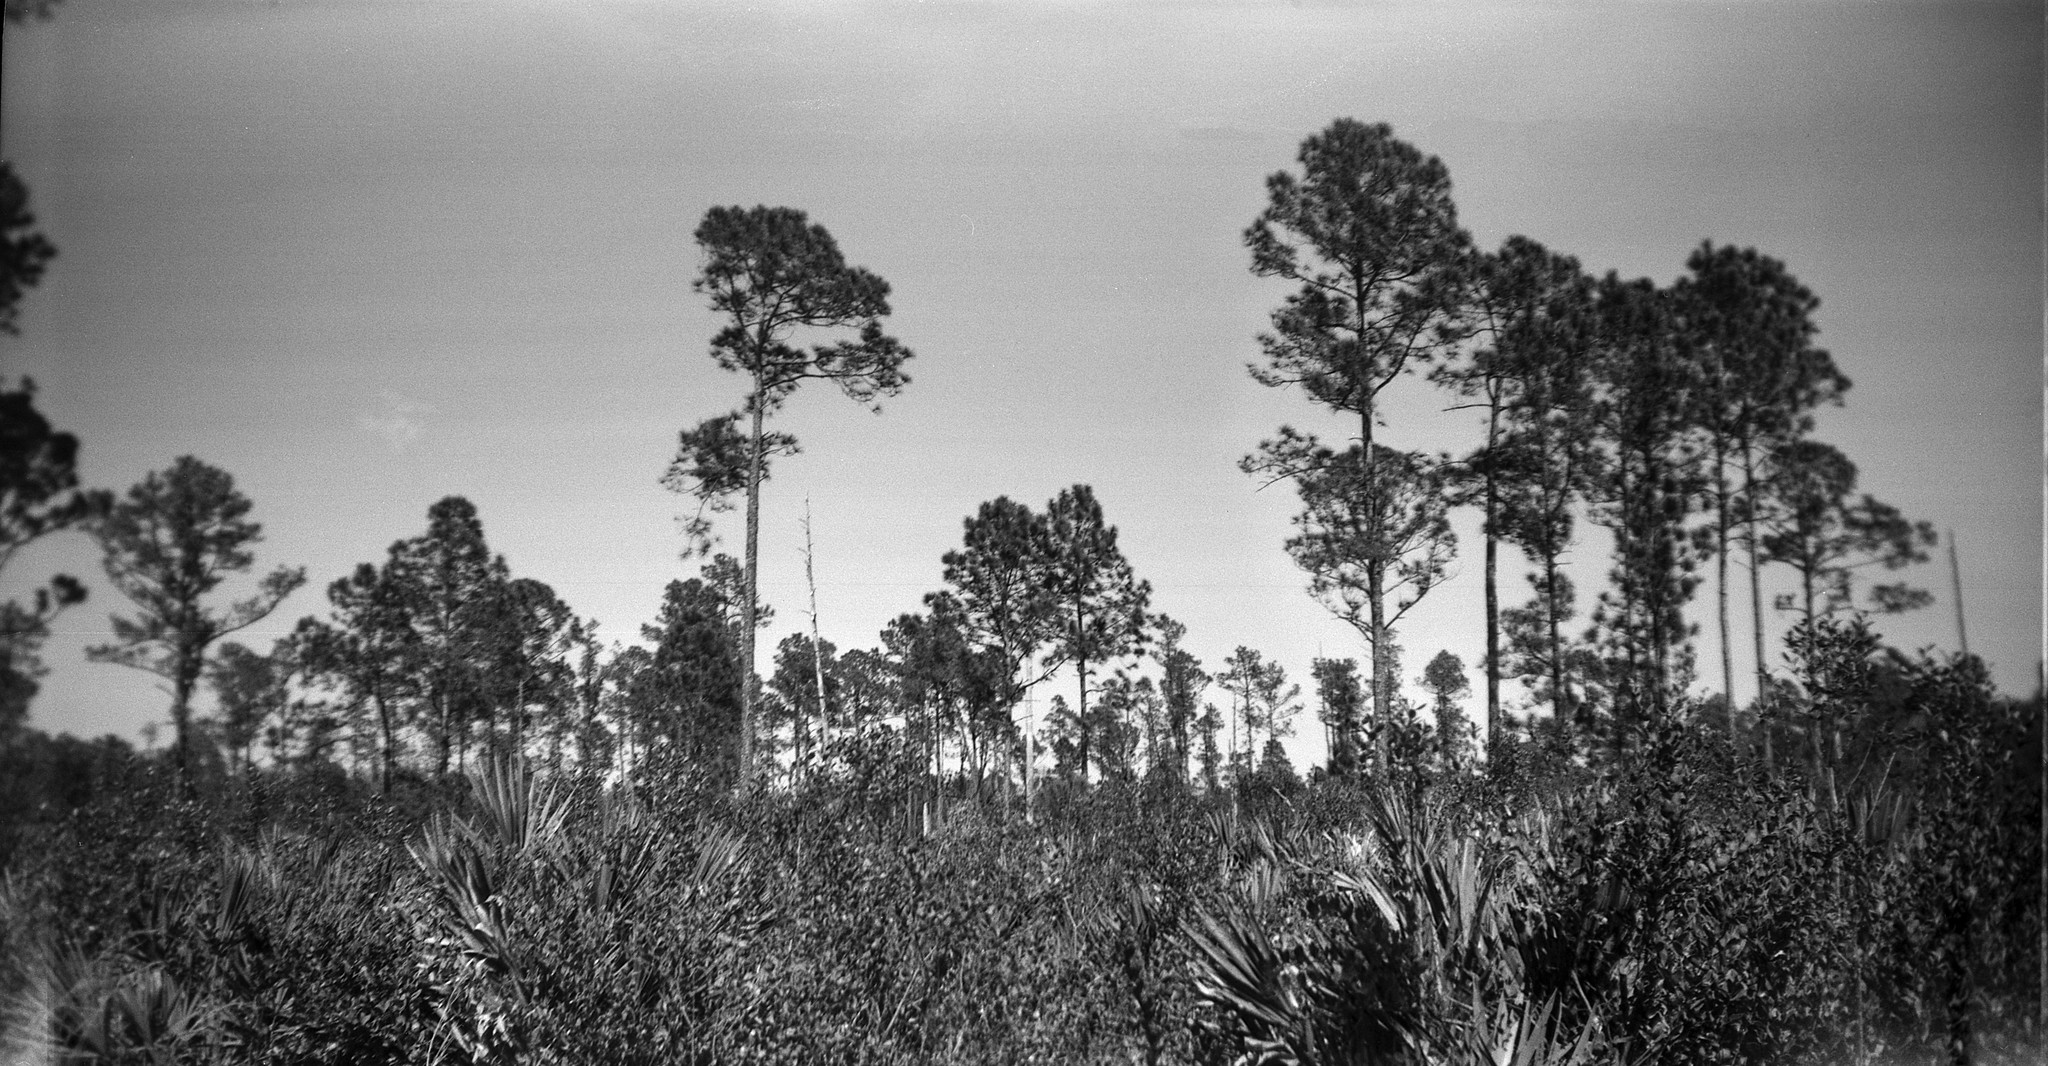
If you don't want images that big, you can always cut a mask and adjust accordingly. I like using the full frame, although to be honest, the image quality suffers heavily the further you get from the center.
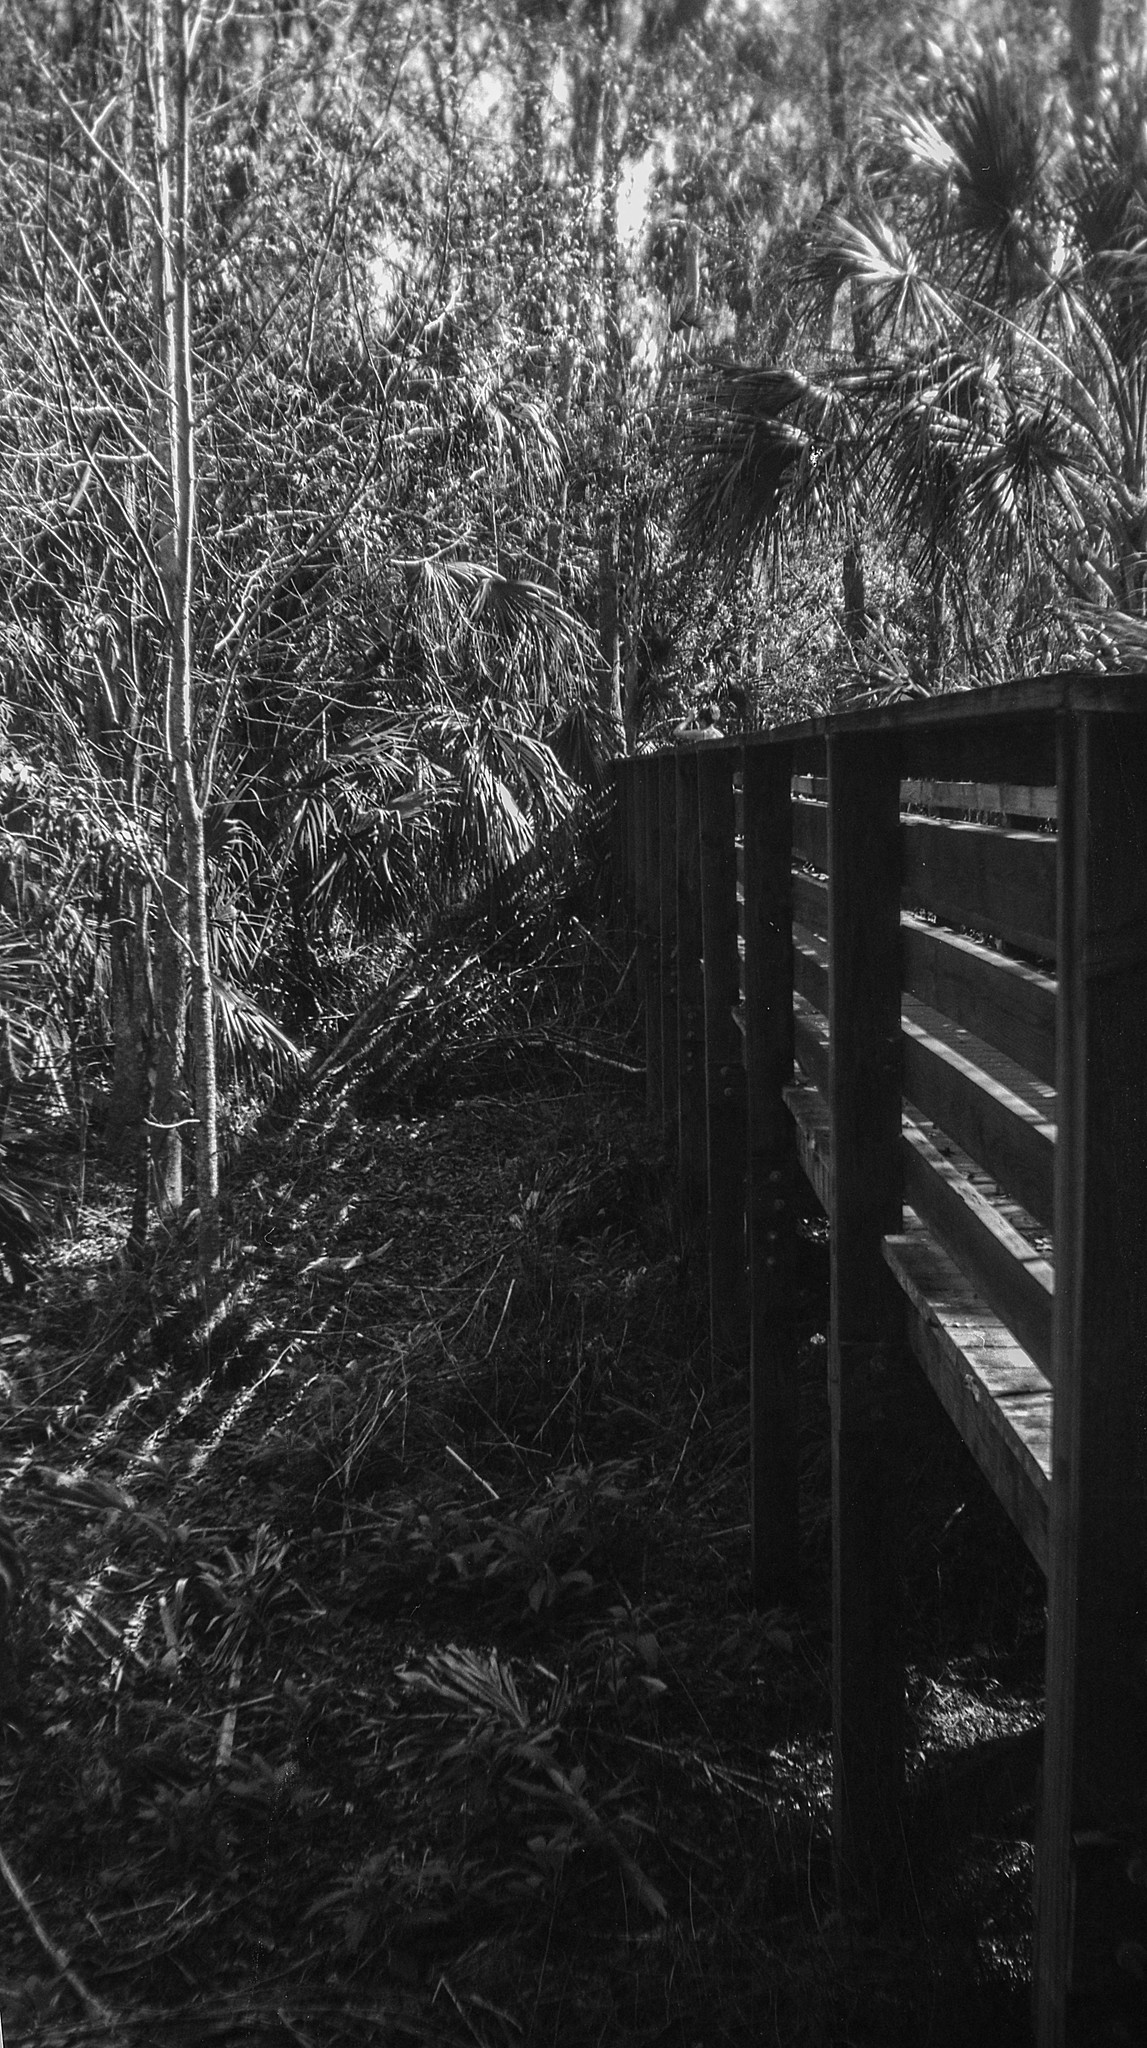 |
| Boardwalk, Black Hammock Wilderness Area |



I just found one off the these in my garage from a deceased Aunt! Lens is gone but otherwise pretty good! What is it worth?
ReplyDelete